The main player, the focus of attention and, being honest, the integral part of the Christmas sandwich, it’s the meats. Everyone has their favourites, some will veer towards beef, others goose, yet if careful but simple attention is adhered to by following my guide, turkey can be a beautifully fragrant and delicious bird. If you haven’t already, it’s well worth soaking up the juices of my General Tips for Christmas dinner which is available here. For now, I’m giving you a complete lowdown on everything you need to know about the meats at Christmas with a focus on turkey, it’s stuffing and my favourite, a beautiful glazed ham.
The Turkey
The bird is the big one. The biggest problem with roasting any bird is that the legs take longer to cook that the breast meat. For turkey this is quite apparent when the breast dries out quickly and becomes everyone’s main gripe when talking about this meat.
My main advice for turkey involves some simple butchery. If the legs take longer to cook than the breast meat then it makes logical sense to remove the legs from the bird. It’s not as difficult as it seems but if you are unsure ask your butcher for a turkey crown with boneless legs.
What I like to do is stuff the leg meat, roll it, making a ballotine and serve it alongside the white breast meat. Ballotines are small rolls or rounds of meat enclosing a stuffing. Take a sheet of aluminum foil, put a tsp. of oil on it, place the deboned leg skin down, season with salt and pepper, and place some stuffing along the length of the leg. Roll the leg, wrapping it in the aluminum foil, twisting the ends to create a tightly rolled tube. This can even be done on Christmas Eve and left in the fridge ready for roasting. When ready to cook, preheat the oven to 180°C Fan, 400°F, Gas Mark 6. The ballotines will take about 1 hour to 1 hour 15 minutes. After this time, remove the foil, return the ballotines to the tray and put back into the oven to brown the skin; about 15 minutes. By removing the legs from your turkey you’ve reduced the cooking time of the crown. If you are still unsure don’t worry, you can still cook your turkey with the legs on and use the following advice to prevent a dry turkey breast. This advice should be followed even if you have removed the legs and are roasting a crown:
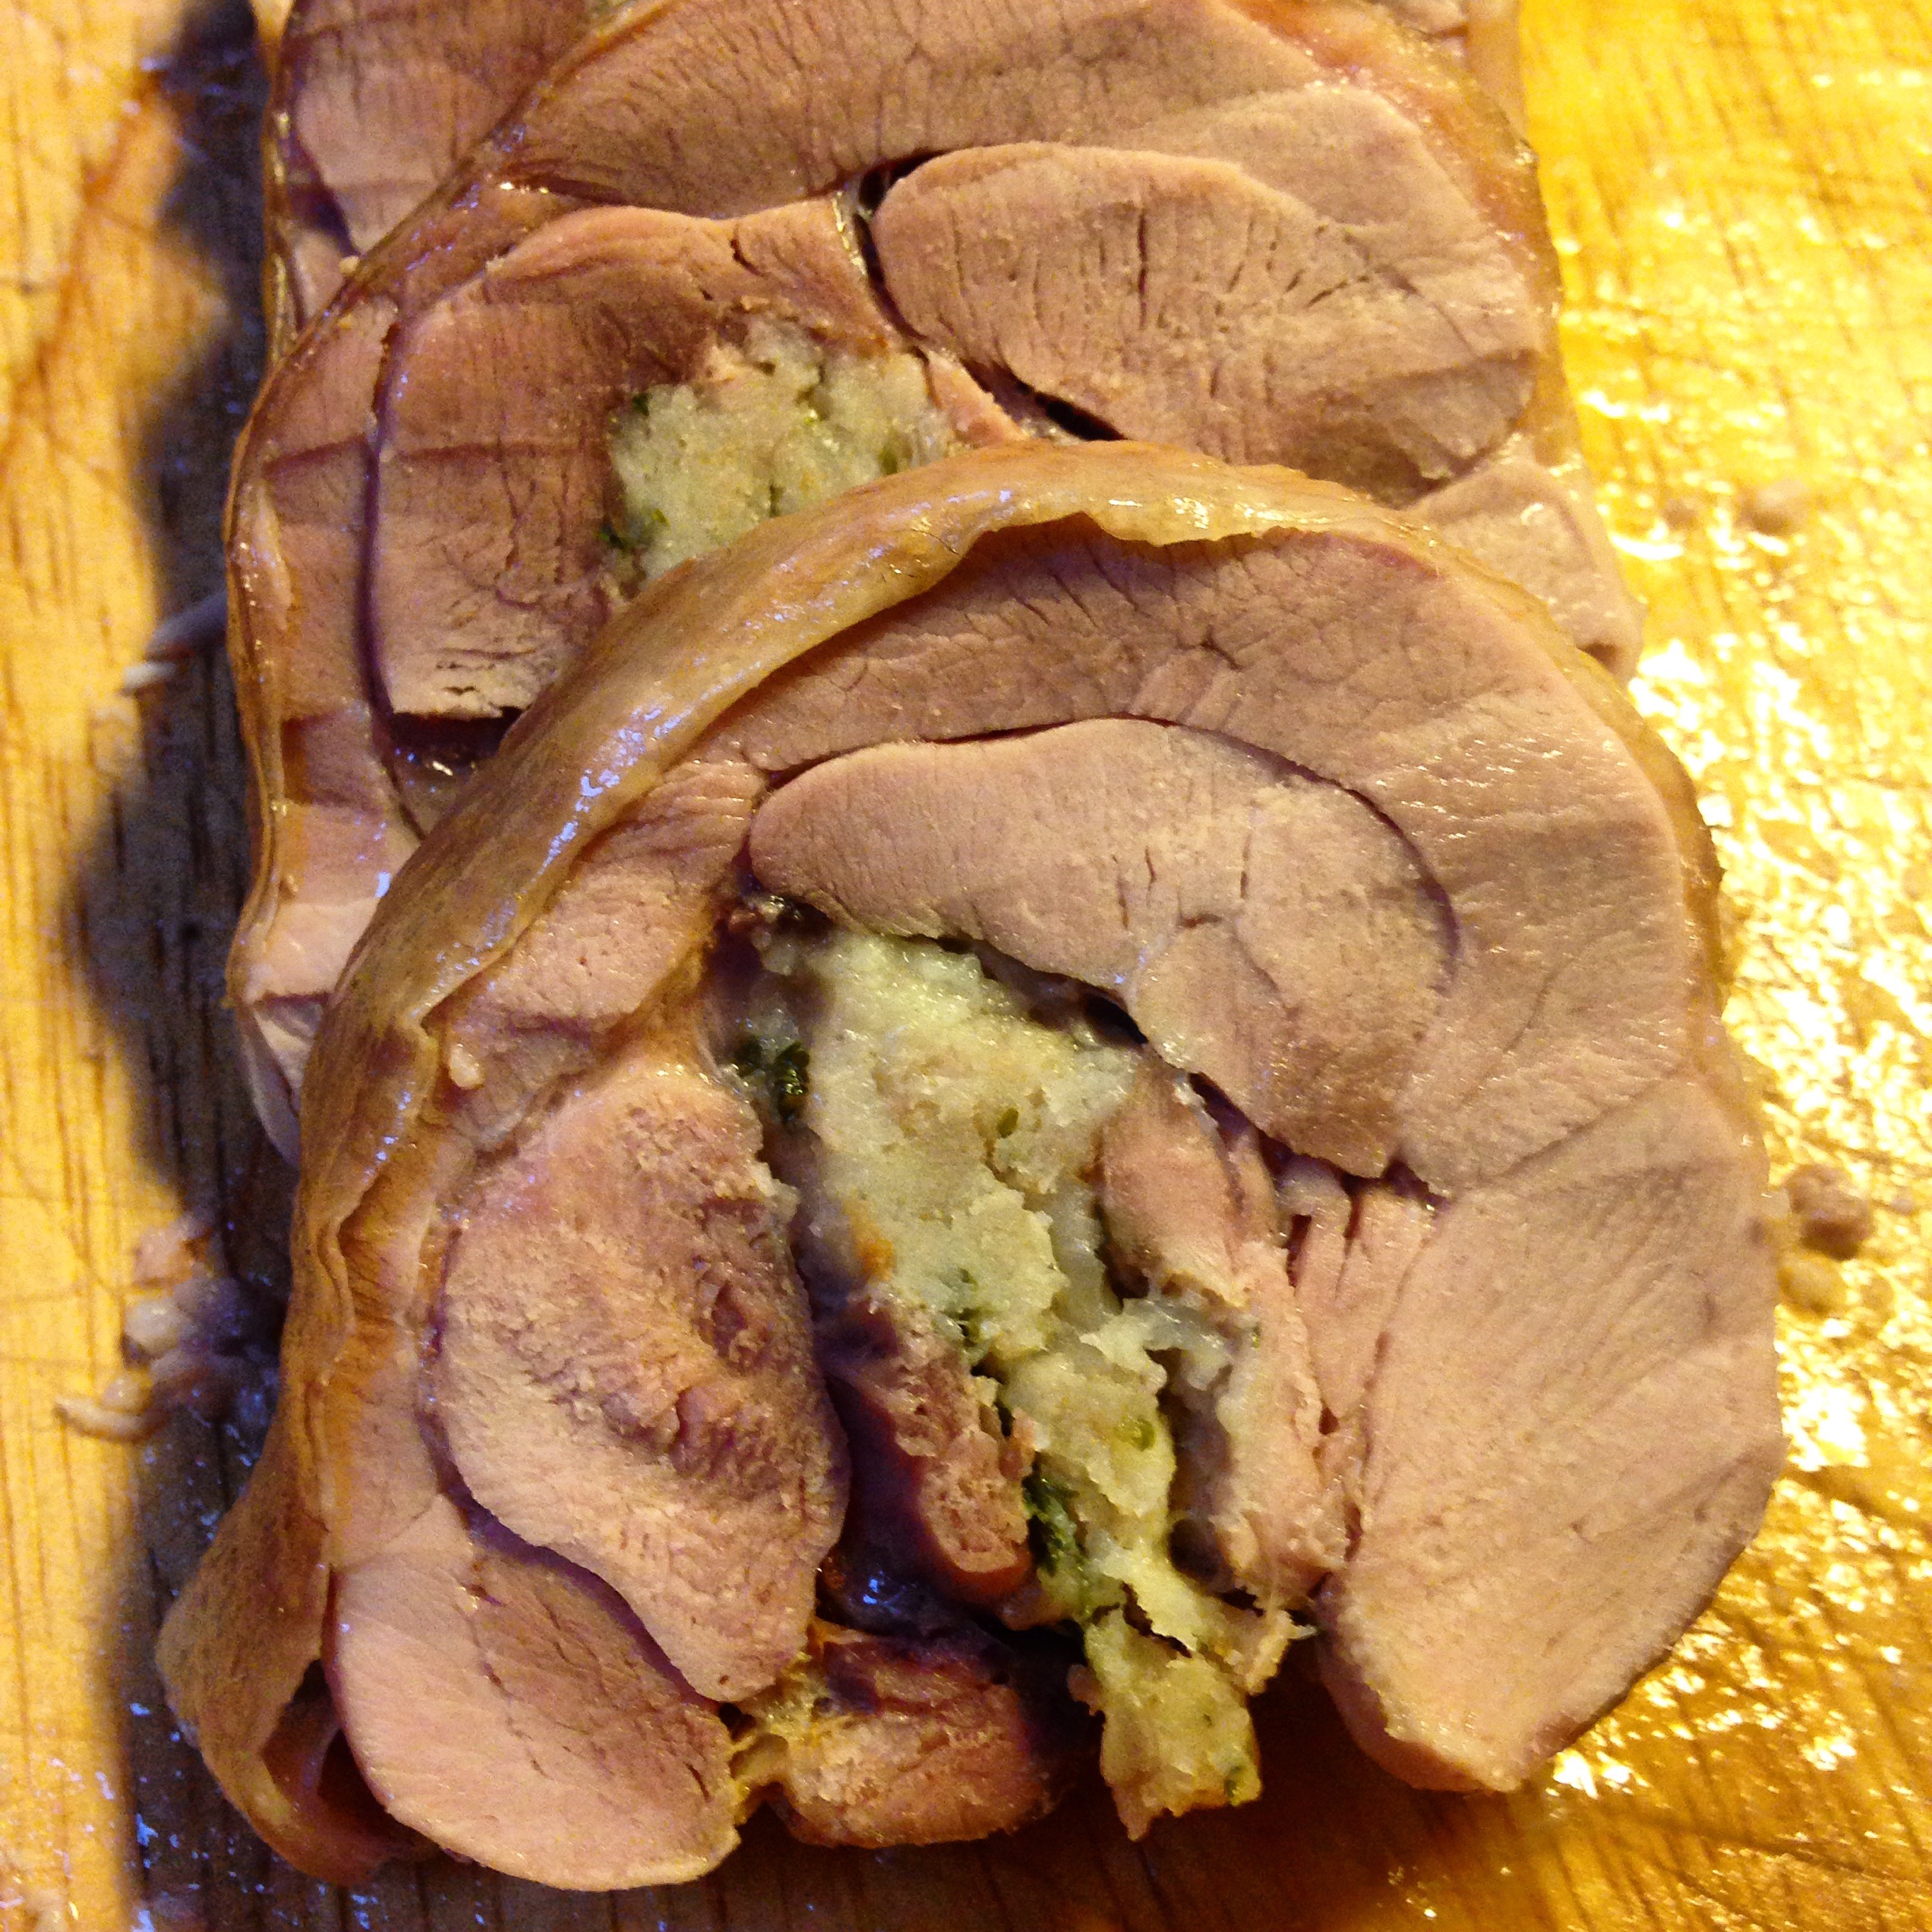
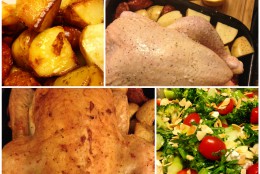
Ballotine of Stuffed Leg meat is very simple
Stuffing
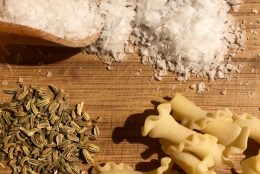
I’m including a piece here on the stuffing due to it’s connection and relevance when talking about roasting a turkey. Mine is a simple one that involves the main ingredient of breadcrumbs along with onion, sausage, parsley, salt, pepper, and butter. In our house, at Christmas, my father makes the stuffing under near armed guard but each family has their own recipe I’m sure.
There has been a lot said about stuffing and not stuffing turkeys in the past number of years with most talk revolving around the cavity of the bird. That advice may have spoken about not stuffing the cavity but instead to stuff the neck end of the bird. The science is that hot air needs to get around the breast of the bird and stuffing the cavity would impair this, therefore not cooking the turkey properly. Ignoring all you may have heard before, it is perfectly safe to stuff the cavity. I advise however to refrain from stuffing too much, and to leave some area between the top of the stuffing and the bottom of the breast to allow for the heat to penetrate the breast of the turkey. What is important though is to calculate the weight of the turkey after stuffing and consequently the cooking time.
Also be aware that as a consequence of stuffing the cavity that the weight increases and therefore so does the cooking time. More stuffing and slightly more cooked meat is a balance I’m willing to accept but only you can make that decision. Putting excess stuffing into a bread tin for roasting is a possible compromise though one I’m only willing to make after the cavity has been stuffed. I like stuffing, a lot. You decide. (Do however make sure that whatever stuffing that you are using is cold before it goes near any bird, turkey or otherwise.)
This recipe was particularly difficult for me to do because I never measure anything out so I did my very best to try to be as accurate as I can. Feel free to experiment with it and tweak it to your tastes. It is very much one of those “feel it and know” kind of recipes. Rub through the butter at the end until it comes together, leaving a result that shouldn’t be either too fatty but also not too dry. Use your instincts. It should fall fairly cleanly from your hands. Also, this is not a low fat recipe. Park any sensibilities at the door, go with it and enjoy it. It’s Christmas!
Bread, Sausage and Bacon Stuffing
Ingredients
Method
The Ham
Quite possibly, and perhaps for many controversially, my favourite part of the Christmas food tradition is the ham. I’m going to try to keep this as brief as possible save to say that I use a “boil and bake” method with my ham. Most hams nowadays don’t need soaking overnight to reduce excess salt that older recipes require.
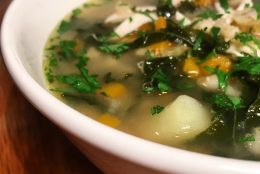
Boil the ham using the 20 minutes per lb and 20 minutes over formula that I mentioned previously. This is your greatest chance to impart flavourings to your ham so add an onion, a roughly chopped carrot or two, a couple of cloves, a teaspoon of peppercorns, an orange halved, and 2 bay leaves to the pot of water that the ham rests. The beauty of this recipe is as such: if you’ve got it put it in, if you don’t, the ham, and your taste buds, will survive without it. So please, if you’re reading this recipe and you don’t have an orange don’t go out and get one.
Though if you have a bottle of Coca-Cola (my usual) or a nice apple cider you could consider adding some of this to the cooking liquor. Put all the ingredients into a large pot, bring to the boil, skim off any scum, reduce the heat and cook as mentioned. I always do this part on Christmas Eve when I have more time. If cooking a rolled gammon fillet, I like to wrap this in plenty of clingfilm once it has been cooked and cooled as it helps to hold the shape of the ham, though this is not essential. Christmas eve night I mix mustard, brown sugar and a teaspoon or two of whiskey for the glaze. Place the boiled ham (clingfilm removed if you had used it) on a foil covered baking tray, and score the fat on the ham into crisscross diamond shapes. Stud each diamond with a clove and cover with the sugar mustard glaze. Leave overnight to infuse and on Christmas Day preheat the oven to 180°C Fan, 400°F, Gas Mark 6 and bake, after the turkey has been removed, for about 45 minutes
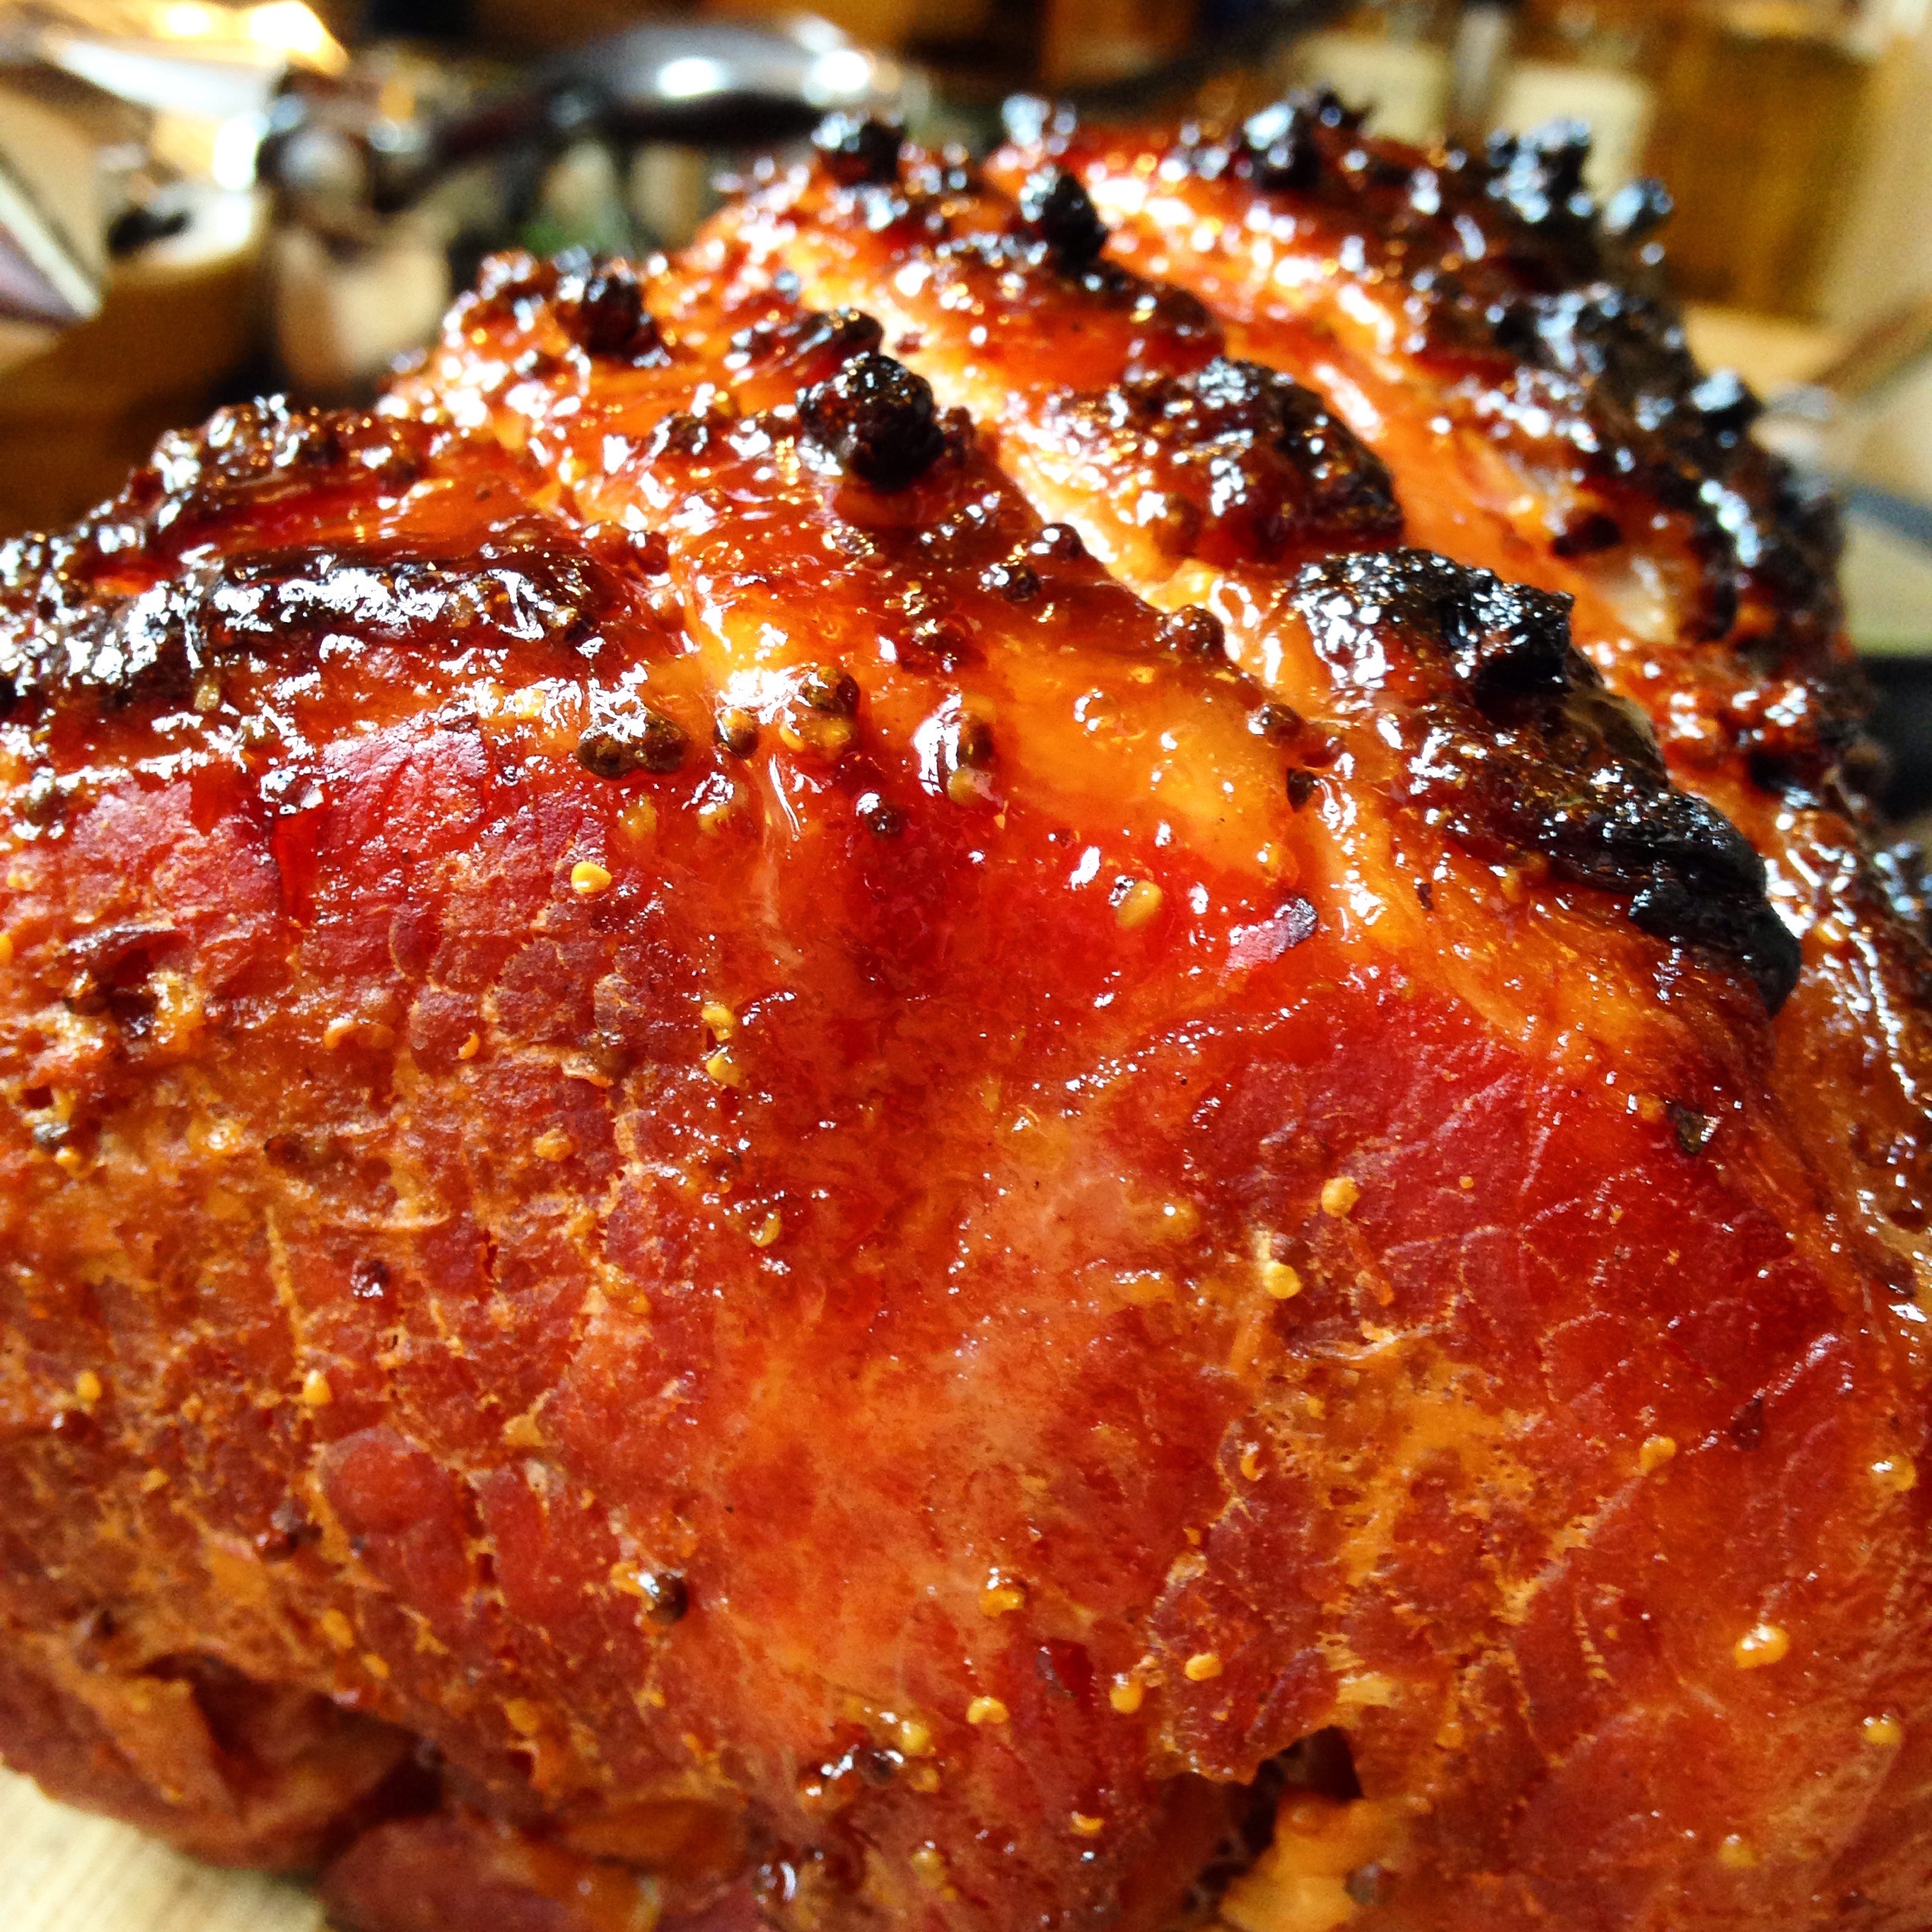
Christmas Ham
Cathal - 37 - Galway - Food and Drink Writer | Wine Columnist Business Post | Cook | Recipe Creator | Restaurant Reviewer | Wine and Cocktails Lover | Food Education Enthusiast |


Wonderful advice which I will be following to a T..cant wait to see the results esp. With the Ham as I normally just boil and thats it. Cant wait to glaze..we will be having Pink Fir Apple hassleback roasted for our spuddies..
Thanks so much Maria! Baking the ham with a glaze is gorgeous and I’m sure you’ll really enjoy the difference. Having had those Pink Fir Apple potatoes, roasting them hassleback sounds ideal! Sounds gorgeous x